
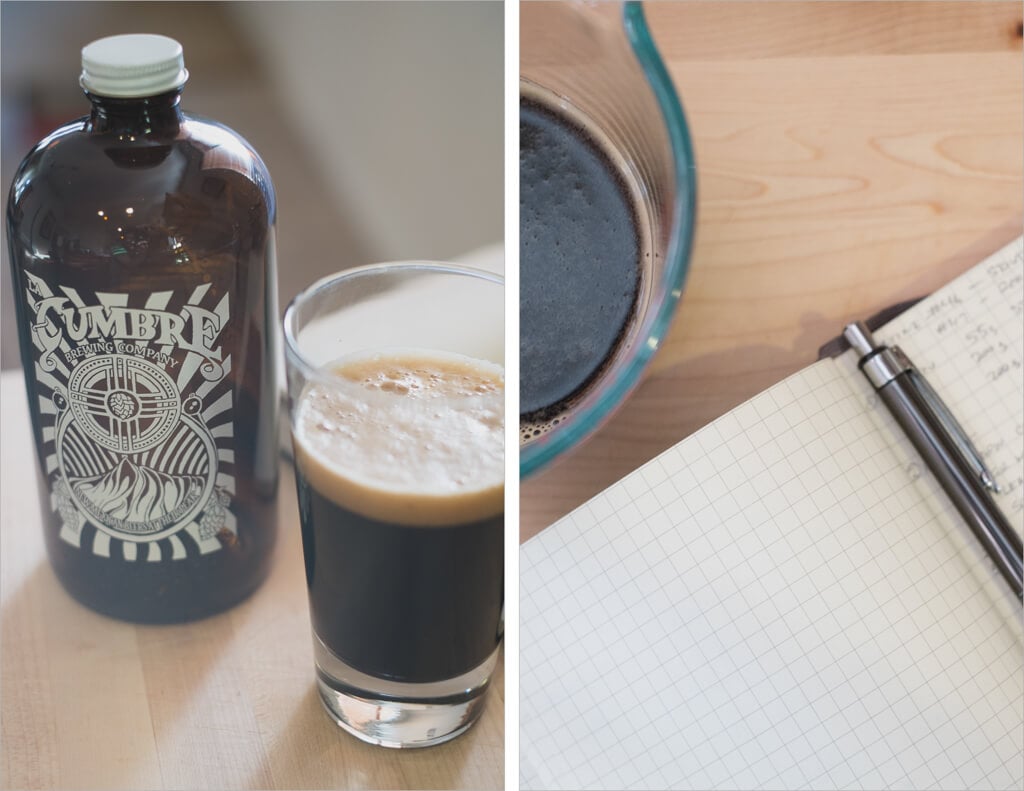
In winter, one of my favorite beverages has to be stout. That dark, malty, and filling beer takes the edge off the cold outside. Early in the week, I went to my local brewery, La Cumbre, here in Albuquerque and picked up a growler of their exceptional Malpais Stout to drink throughout the week. Somehow, by the end of the week, I still had a bit of the growler left and decided to incorporate it into my weekend sourdough in one way or another. With the success (I think so, at least) of last week’s Tartine Sesame Country Sourdough, I thought, why not? Beer and bread go together, don’t they?
I didn’t have a recipe to follow for this, so I just did what I thought made sense. My method here was to replace a quantity of water when mixing with the stout. I’ll tell you wholeheartedly that adding the stout made the dough smell like it was from heaven.
Though, how could it not? The sugars in the beer could only be a good thing for this stout country sourdough.
Since I had a bit of time for this weekend’s bake I decided to do a double batch of sourdough: 4 loaves. One batch was the Stout Country Sourdough and the other was my typical Tartine Country Sourdough. This is probably the first time I’ve done 4 loaves of bread at the same time and boy, that’s a lot of work. I definitely appreciate how challenging each day must be for a professional baker.
For this journal entry, I will just outline what I did for the stout country sourdough loaves. The other pair is essentially my usual method for sourdough. If you’re new to baking or want to start with a great introductory sourdough, check out my recipe for a Beginner’s Sourdough Bread—it’s delicious without any mix-ins!
Stout Country Sourdough
Prepare the leaven – 10:00pm
Friday night I prepared a 100% whole wheat leaven with the following ingredients:
- 34g ripe sourdough starter
- 125g whole wheat flour
- 125g water
After mixing the above in a glass container, cover and set out on the counter for an overnight rest. If you start reaching for that stout… put it down.
Mix the flour and water, autolyse – 7:45am
Luckily Friday night I stopped myself from having a glass of the remaining stout in my growler, as tempting as it might have been. Grab your early morning espresso and your ingredients and let’s get ready to rock this bake.
Ingredients:
- 250g (25%) of your new leaven
- 800g (80%) white bread flour
- 200g (20%) whole wheat bread flour
- 20g (2%) fine sea salt
- 200g La Cumbre Malpais stout beer (20%)
- 510g and 50g water (56%) in reserve for the next step
Method:
- Add the 250g of leaven to a large mixing bowl
- Pour in 510g warm water and mix with your hands until the water and leaven are completely mixed & dissolved
- Pour in 200g of stout
- Add 800g white flour and 200g whole wheat flour and mix with your hand until all the dry flour is incorporated
- Cover your bowl with a towel and let autolyse for 40 minutes
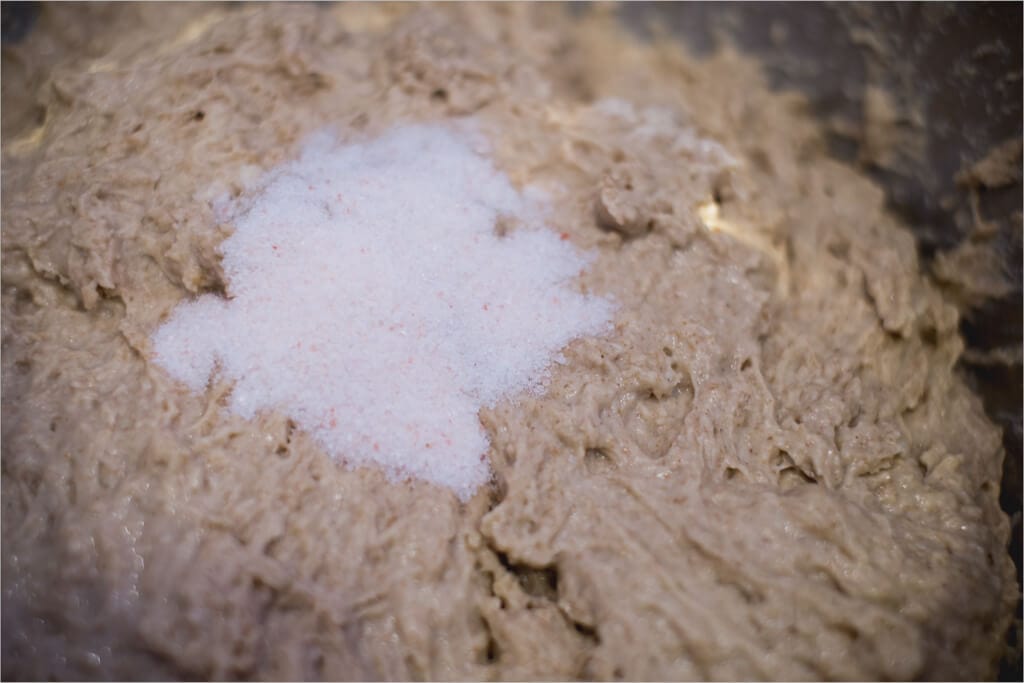
- After 40 minutes add 20g salt to the dough and slowly pour your reserved water on top. Squeeze the dough with your hand to incorporate the salt
- Now reach your hand under the dough and pull one side up and over onto itself. Do this several times until you notice the consistency of the dough to turn sticky
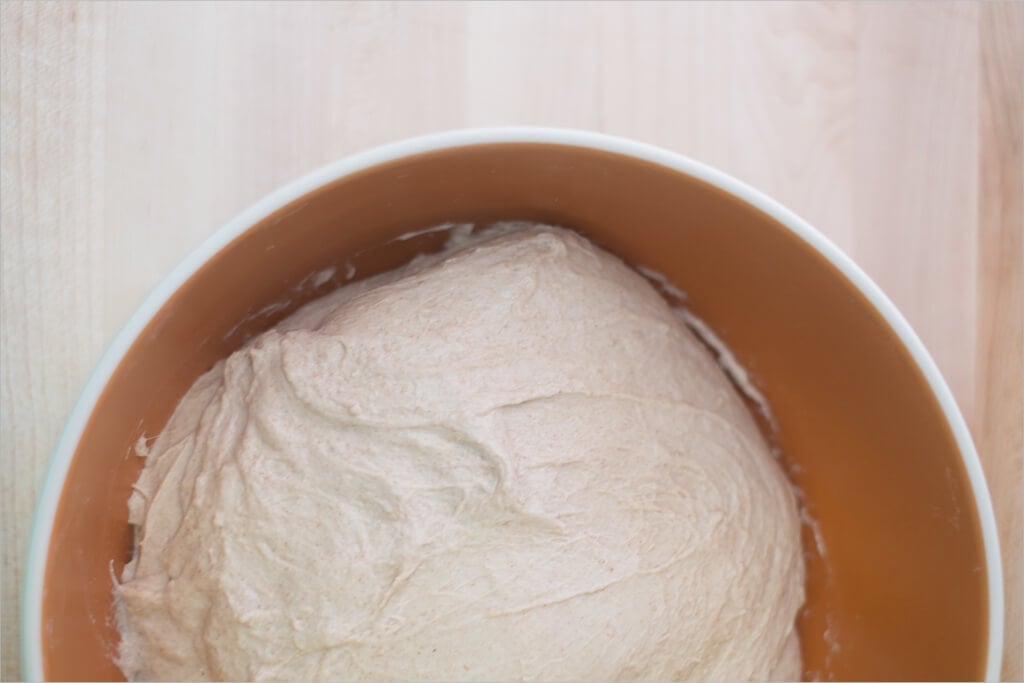
- Transfer your dough to a large bowl for the bulk fermentation step
Don’t forget to take the temperature of your dough at this point. It should read around 78°F (25°C). Mine came in just shy at 77°F (24°C), and that tells me it might mean a bit longer during bulk fermentation (see my post on the importance of dough temperature in baking).
Bulk Fermentation – 8:50am
During bulk fermentation you want to do 7 turns spaced out 30 minutes apart. The turns should be quite intense to strengthen your dough over the next several hours.
- 9:20am – Turn 1
- 9:50am – Turn 2
- 10:20am – Turn 3
- 10:50am – Turn 4
- 11:20am – Turn 5
- 11:50am – Turn 6
- 12:20pm – Turn 7
- 12:20pm – 2:20pm – Rest on counter untouched
At 2:20 p.m., the dough in my bowl had risen at least 30%, and there were little air pockets throughout, even some bubbles on top. It smelled incredible at this point, and I really wanted to start the bake right then and there.
Stretch your arms and hands and get ready to do your shaping.
Pre-shape – 2:30pm
Remove the dough from the container onto your unfloured work surface and sprinkle some flour on top before dividing. Divide the mass into two halves and flour the top of each half. I continued using one half for a longer oblong batard and the other for a boule. I ordered several more oblong bannetons for future bakes as I enjoy the batard shaping process and much prefer the result. In a future post, I’ll talk about my shaping and even show some experiments I’ve performed on the different shapes and how they affect rise, crust thickness, etc.
After shaping I inverted a bowl on top of each shaped mass to keep it from drying out and set a timer for 35 minutes.
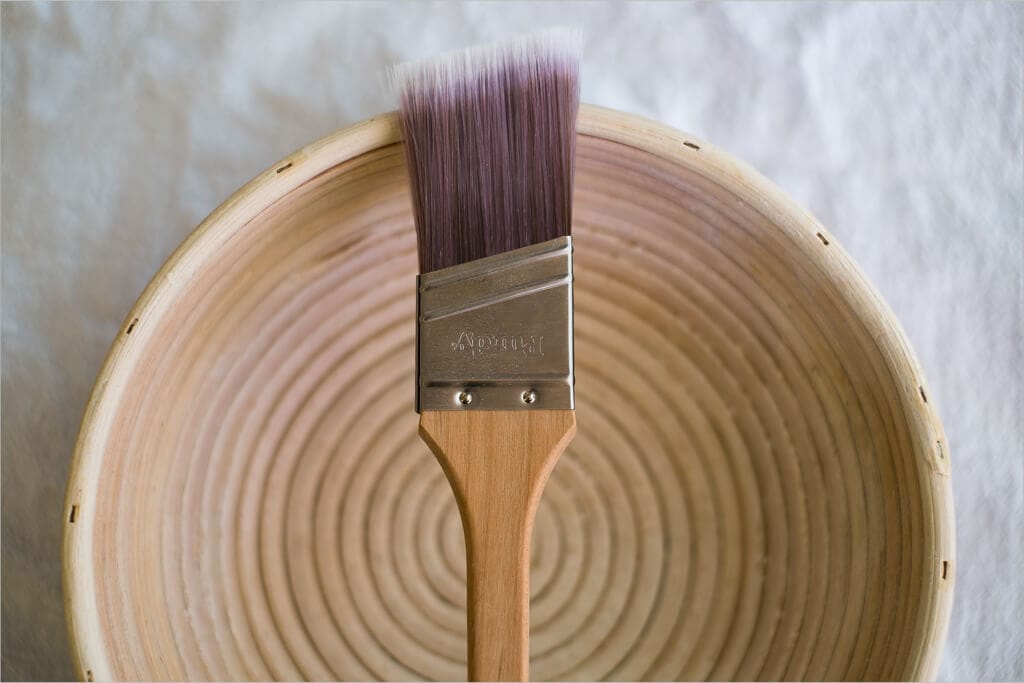
Lightly dust your two linen-lined bowls with white rice flour. These bowls will hold our fermenting dough overnight in the fridge to proof.
Shape – 3:05pm
By 3:00 p.m., the dog was ready to go out and explore, run, and harass all the rabbits near my house. She pretty much sleeps all morning, and then by the later afternoon, if she doesn’t stretch her legs, it’s going to be a long night for us. After this shape, she’ll get her chance to hopefully catch a rabbit (it has yet to happen).

For this dough, I shaped one of the loaves as a batard shape (following my batard shaping guide), and one as a boule shape (following my boule shaping guide).
Proof – 4:15pm
After they have been shaped, they are placed into their respective baskets and the fridge for a long overnight proof.
Speaking of which, one of you readers recently asked me if I felt the long cold proof added flavor to the resulting bread. The short answer is yes! The long proof really gives your fermenting dough a chance to build up a very subtle, complex sour flavor that you just cannot duplicate with a short, warm proof—at least I haven’t been able to duplicate it.
Score + Bake – 12:00pm (the next day)
Well, I can confirm Arya (our dog) got really close this time to snagging one of the 4 legged friends near our house, but still no dice. Next time I have got to bring my camera out there on our long walk through the desert to catch a few action shots of her bounding from bush to bush. But I digress, let’s get these loaves into the oven.
I had a little bit of a late start on Sunday morning. I had a brunch outing with some friends (hazelnut French toast and Intelligentsia Coffee cannot be refused), and so the bread had to wait. If you do the math, this means my dough rested for 20 hours! That’s a long proof.
Gather your tools:
Preheat your oven to 450°F (230°C). See my post on baking in a Dutch oven (or combo cooker) for more discussion on the following baking process.
After one hour, take one of your loaves out of the fridge and cut a piece of parchment paper to place on top of the basket containing the dough. Take your peel and then put it on top of those two, quickly inverting it so the dough is now resting on the parchment paper and the peel.
Get your razor blade out and score the top of the loaf to allow the bread to expand while rising in the oven. For the larger batard, I did a single slash down the middle, starting from the top to the bottom. I did my typical “X” score for the boule, which was centered right on top.
Place the dough into the combo cooker, cover with the lid, and bake for 20 minutes. After this time, uncover the Dutch oven (place the top next to the base with the baking dough) and bake for 35 minutes. When finished baking, remove the loaf from the pan and let cool on a wire rack.
Repeat for the second loaf.
Conclusion
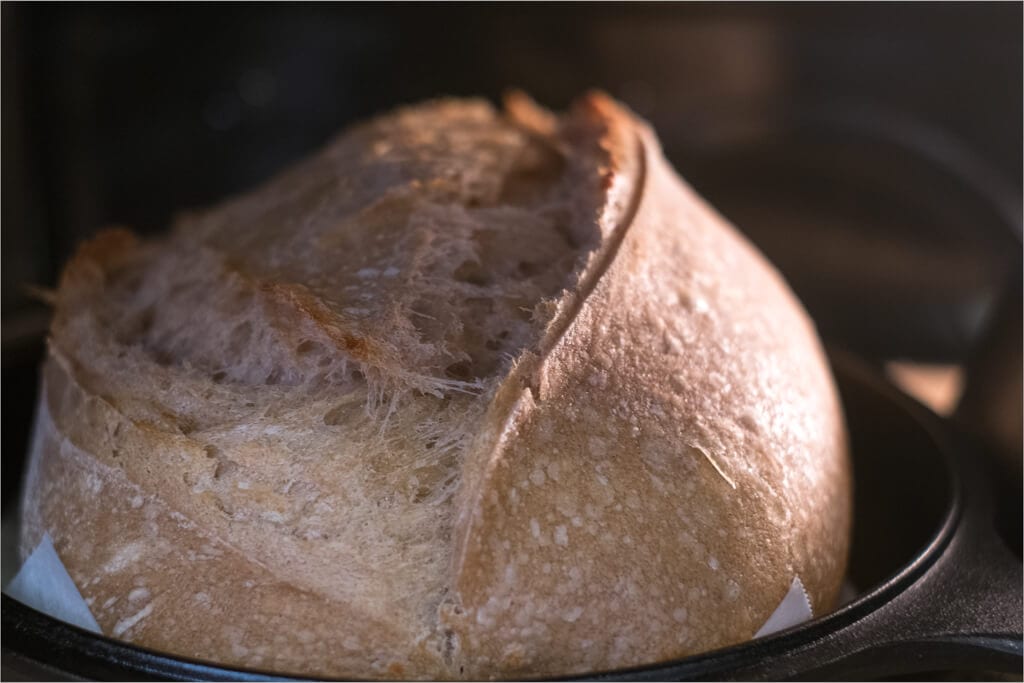
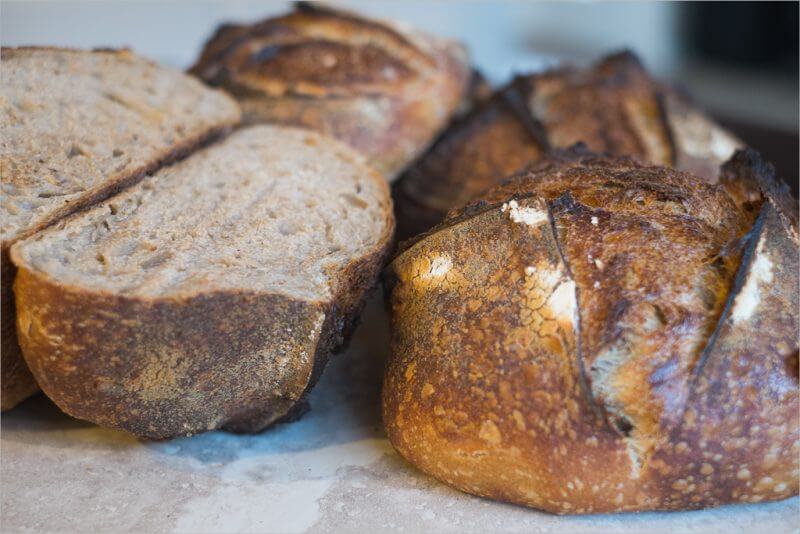
Look at the rise in that beauty! Wow, excellent oven spring. All four of the loaves of this stout country sourdough had excellent oven spring. I love popping off that top and seeing the dynamic tearing and shifting so visible in the crust.
Crust: You can’t beat those three adjectives: Nice and crackly, thin and crunchy. The caramelized outside has lovely colors, so you know it’s going to be tasty. A thin crust can be challenging to attain, but it is possible!

Crumb: The relatively airy crumb could have been a bit more open. I’m unsure what caused the denser crumb on the stout loaf. It could simply be that I over-shaped the dough, knocking out built-up gasses, or it could be that my flour has a bit lower protein than what I normally use.
For this bake, I used what’s more closely related to an “all-purpose” white flour instead of a “bread flour.” You can also see that even though I used 800g white flour here, the dark malty stout imparted a dark coloration on the inside of the loaf. Almost looks like it’s more whole wheat than white.

Taste: Well, the taste was pretty darn good! I’d say the beer made the crumb a bit more chewy than usual, which can be good or bad, depending on your tastes. But the subtle malty flavor was a very welcome addition.
And for my essential note: I think I’ll add more than 200g of stout next time. I’m thinking of removing 300g of water and adding 500g of stout to impart even more malty flavor to the loaf. If we’re going to make beer bread, we should go out.
What’s Next?
Looking for more beer-related bread? Check out my Hop Miche, a large French-style loaf made with a dark Russian Imperial Stout—it has a stellar crust and flavor!
Buon appetito!
If you use this recipe, tag @maurizio on Instagram so I can take a look!